This is the final product that I created in the program Photoshop. It features information on the settings and modes a camera has, and how to use them. The manual consists of 9 pages in total, including the front cover and two illustrations of cameras at the end. I drew all the pictures in my sketchbook and then scanned them into the computer with a scanner, so that I could then edit and use them.
23 Sept 2013
Camera Manual Final Piece
This is the final product that I created in the program Photoshop. It features information on the settings and modes a camera has, and how to use them. The manual consists of 9 pages in total, including the front cover and two illustrations of cameras at the end. I drew all the pictures in my sketchbook and then scanned them into the computer with a scanner, so that I could then edit and use them.
22 Sept 2013
19 Sept 2013
Missteps of manual
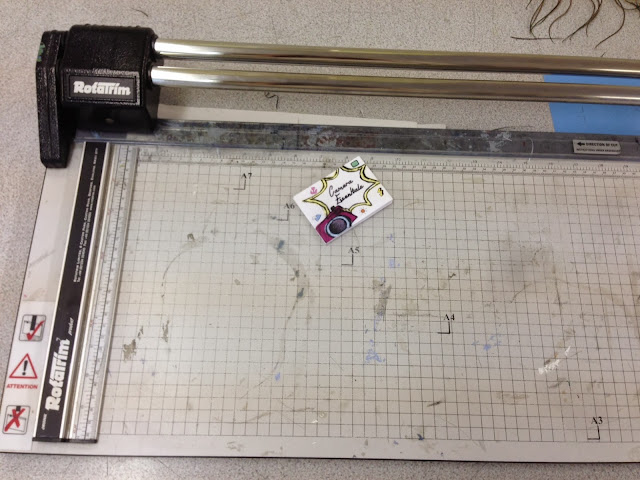
When I first printed the manual out, I attempted to cut it out with a guillotine. However this did not provide the precision I needed as I could not see how far off the line I was cutting it, so the edges would be uneven and would cut onto the design. I therefore chose to cut it using a scalpel, cutting board and ruler. Which had much more precision and was quicker and easier.
To cut out the manual into pieces so it can then be stuck together; I used a metal ruler, a scalpel and a cutting board. I used these as using a ruler and a scalpel keeps the edges neat and crisp, and is very precise so is quick and easy to do. The metal ruler is good also as it keeps the object you are cutting in place so that it does not move, so that you do not make mistakes if it slipped.
18 Sept 2013
Final Camera Manual In Photoshop
This is a screenshot of my final product in Photoshop. I used Photoshop to arrange the different elements so to create my camera manual, e.g. different typefaces, pictures, text. I kept the same typeface throughout to keep the look of the manual consistent and professional. I also stuck to the same colour scheme, therefore used bright, eye catching colours to make the pictures stand out and making it pleasurable to look at.
17 Sept 2013
Organised Folders
During the process I ensured that all of my work was kept in labelled folders and was saved in my graphics folder. So that my work does not get lost and I can find everything quickly and easily when I need it.
16 Sept 2013
Working Progress
This is a screenshot of my manual in working progress. I used the program Photoshop to create this as it is a good software to use when editing photos, creating pieces and working with lots of different elements. As you can see I did not use a lot of the stuff that I drew, therefore next time I will plan ahead as to exactly what I need to draw, so saving valuable time that could be needed for other things.
15 Sept 2013
Downloading Fonts and Typefaces for camera manual
I downloaded a variety of typefaces from a free website called Dafont. I then narrowed it down to two fonts, as I wanted a different typeface for the title page. I used a font called 'PW Curvy Regular Script' for the main typeface for all my text and headers. As I thought that this was a relaxed, pretty typeface that would fit in well with the theme of my manual. The font that I used for the front page was 'Sunshine In My Soul'. Because I thought this font looked professional and kept the relaxed theme of my manual consistent.
14 Sept 2013
Photoshopping Camera drawings
After I had scanned them into the computer, I opened up my scans in photoshop and edited them so that they were suitable for my manual. I drew most of my images for the manual in pencil, because I did not want to take the risk of ruining them with permanent ink or pen. So to darken and make the lines bolder, I adjusted the 'Threshhold' of the image. Which then darkened the pencil lines, so making them eye catching and looking like professional drawings. I then used the 'Lasso' tool to copy them onto the template of my camera manual.
13 Sept 2013
Scanning - Camera Manual
I scanned each page of my sketchbook that had drawings on with a scanner, which connected directly to the computer. This is so that I can edit the scans in Photoshop and make them suitable for my manual. I used the program Image Capture for this.
12 Sept 2013
Sketchbook Drawings - Camera Manual
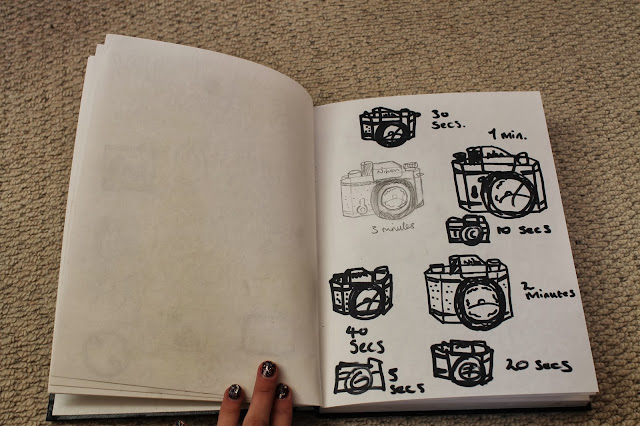
Here are all my drawings that I did with pencil in my sketchbook. I drew a variety of things so that I had a range of elements to use for my camera manual. E.g. Cameras, headings, settings, typefaces etc. I then scanned these pages into the computer so that I could edit the scans and use the drawings in my manual. However next time, I will limit the amount of things I draw as this took up a lot of valuable time which could be used to create the manual. But it did not effect the quality of my manual. Also I would like to try some different techniques with drawing - like inking or with fine liner.
11 Sept 2013
Business Card Final Piece - Business Card
Below are pictures of my final finished design if my business cards. I did 4 business cards in total, and each feature a front and back design. Three of the cards are for graphic services, whereas one is for photography.
Organised Folders - Business Card
This is a screenshot to evidence that whilst doing this project, my files were kept in a neat order. I did this by separating work into categories and labelling them as to what they contained.
Programs Used - Business Card
The program Pinterest was used to gather inspiration and ideas for our business cards. The idea was too create our own login, and 'Pin' topics we were interested in.
This is a screenshot of the website we used to gather our desired typefaces, to use for our business cards. When we had found a font we wanted to use, we downloaded it onto the Mac's and imported it into photoshop.
This is a screenshot of my working progress/finished product in Photoshop. We used photoshop to create the business cards as it is easy to use and is an efficient program for designing things.
Tools Used - Business Card
To cut the businesses cards out of the print out, I used a guillotine because it is precise and gives sharp edges. Also it is quick to use and simple, creating neat edges making the card look professional.
10 Sept 2013
Business Card Plans
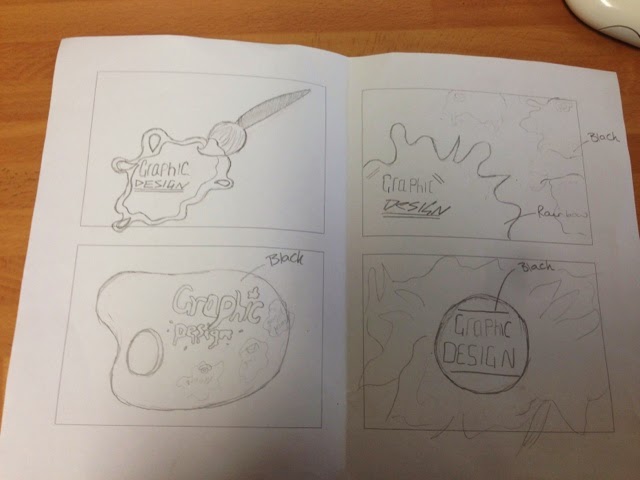
Below are the first drafts I did for my business card. I have drawn both the front and the back of each design with the front adjacent to the back. I experimented with a number of different shapes and styles of font to build a variety of designs.
Subscribe to:
Comments (Atom)


